
How To Use Docker Compose Effectively as a Development Tool
Let's use Docker Compose to help us build software! If you are new to the world of containers then I hope you will find this tutorial insightful. We will explore setting up a new Ruby on Rails project, creating a docker-compose.yml file, then will add services like PostgreSQL and Redis, and finally, running and developing our new application in Docker.
I choose to use Docker Compose to avoid installing and juggling multiple versions of tools and services on my workstation. For example, let’s say you have an application that needs a MySQL database, another that needs PostgreSQL 11, and another that needs PostgreSQL 13. Installing MySQL and PostgreSQL together is easy enough, but trying to run multiple versions of the same database server is a lot harder to do. Aside from any difficulty you may find there you will likely now have services running that you don’t actually need consuming precious resources on your workstation.
Setup and teardown of a project can be a real pain and you might not even bother doing it because it’s not an easy thing to do. A docker-based workflow simplifies the process of setting up and tearing down a project. Easy setup processes mean you can onboard others to your project more quickly, can easily transfer to another workstation, and can uncover configuration issues.
If you are working in a team environment you may have experienced issues where “it works on my machine” but not on their machine. Inconsistencies between development environments can lead to bugs and troubleshooting headaches. Using a docker-based development system does mitigate many of those sorts of issues.
The goal of this tutorial is to illustrate how you can use Docker Compose in your development workflow, as either a way to run ancillary and supporting services such as database and caching servers or by moving the entire development workflow into Docker Compose.
Table of Contents
- Getting Started
- Add Our First Service to Docker Compose - PostgreSQL
- Additional Supporting Services
- Developing Our Application in Docker
- Utilities for working with Docker Compose
Getting Started
For this tutorial, you should have some familiarity with your terminal, access to a text editor, and though not required at all, maybe some experience with Ruby on Rails (my example application will be Ruby on Rails). You will also need to install Docker. If you are going to follow along you will need Ruby installed.
To get started you will first need to install Docker and Docker Compose. The easiest and quickest way to do this is to install Docker Desktop. Compose is installed automatically when you install Docker Desktop.
After you have installed the package you can confirm that Docker Compose is installed by running the following in your terminal:
docker compose version
Clone the example repo.
Clone the example repo to see the complete example.
git clone https://github.com/roylindauer/tutorial-docker-compose-development.git docker-compose-example
Create a new project.
If you want to follow along then go ahead and create a new Rails project. You will need to have Ruby installed. Please refer to the Rails getting started guide if you need help getting Rails installed.
gem install rails
rails --version
That should return something like “Rails 7.0.0”. If so you are good to create a new rails project.
rails new docker-compose-example
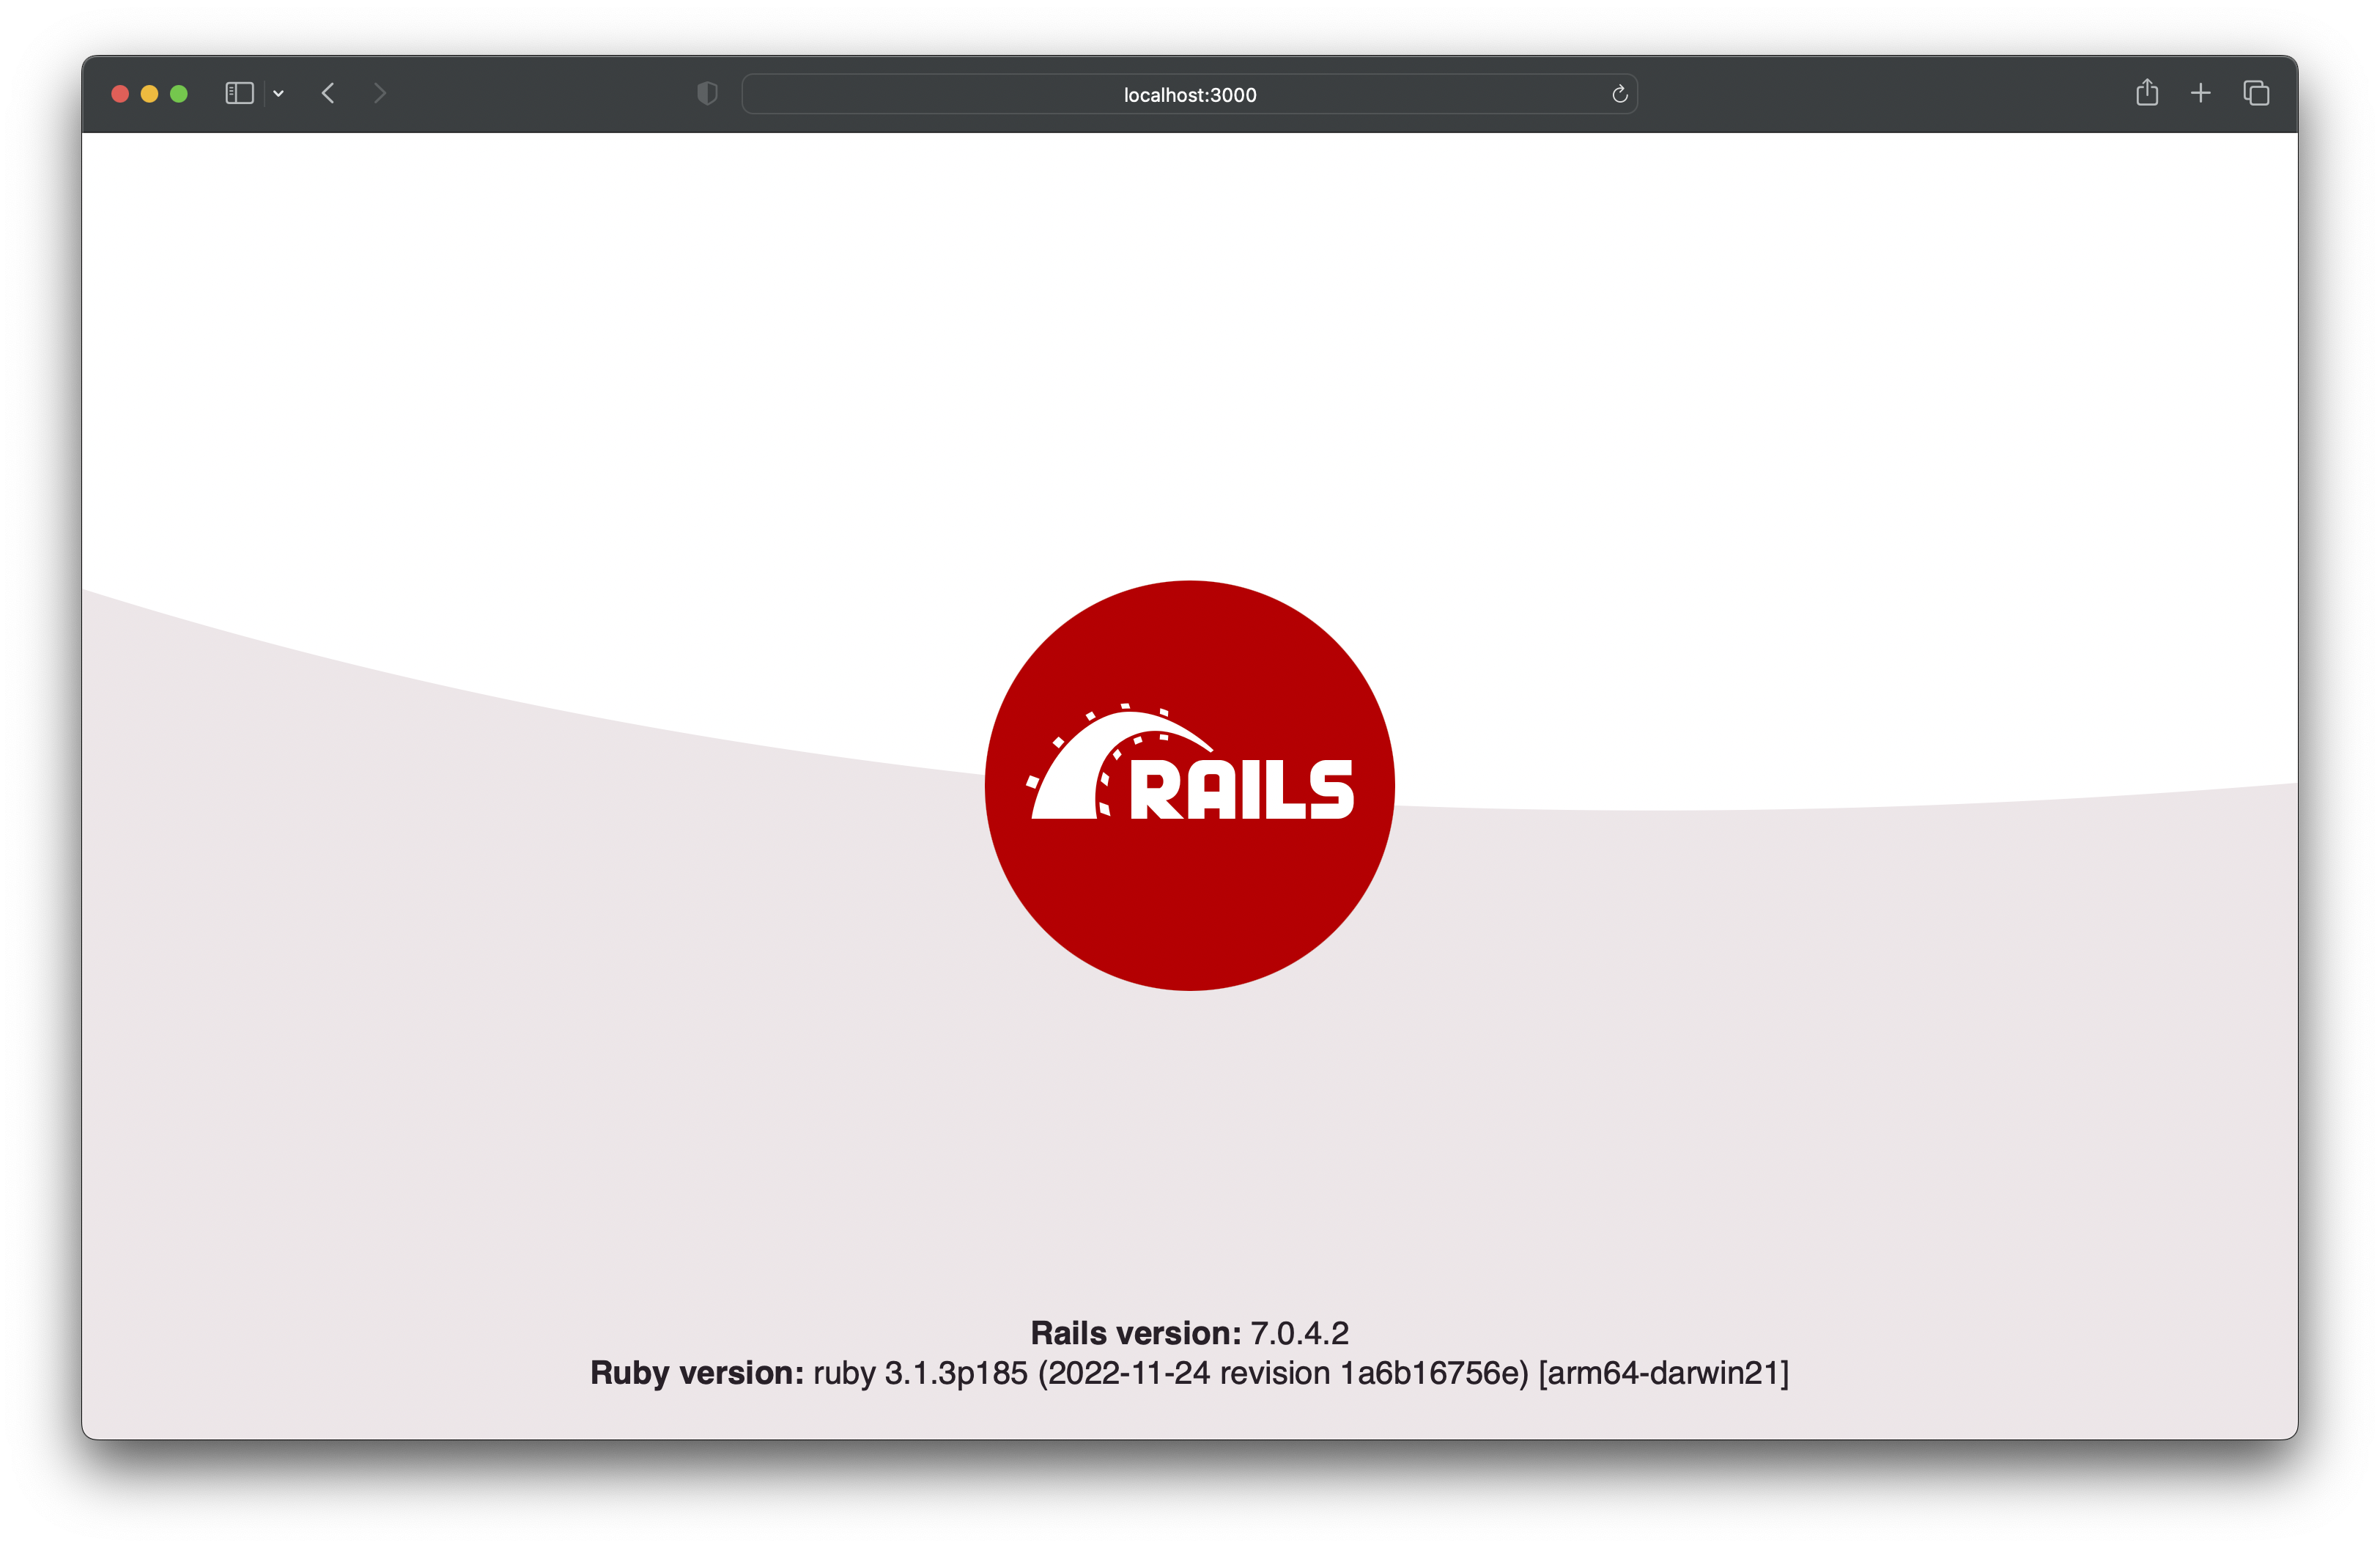
Confirm that rails is setup by running the rails server and visiting http://localhost:3000
cd docker-compose-example
bundle exec rails s
Okay so that’s great, but it’s not doing much yet. By default, Rails uses SQLite as the database. Let’s use PostgreSQL as the database. To do that we will create a new file called docker-compose.yml and add our first Docker Compose service to that file.
Add Our First Service to Docker Compose - PostgreSQL
Create the file docker-compose.yml in the root of the project. The compose file is a YAML file that defines services, networks, and volumes. The service definition, which is where are going to put most of our effort, contains the configuration for our containers. If you want a deep dive into the various configurations and format of the docker-compose.yml file check out the compose file v3 documentation.
Add the following to docker-compose.yml:
version: "3"
services:
  postgresql:
    image: postgres:13.10
What this is doing is adding a new service, “postgresql”, and we are telling compose to use the public docker image postgres:13.10. Compose will pull the image from the docker hub when we start the service. Let’s do that now. From your terminal run the command
docker compose up
This command will bring up all of the services defined in docker-compose.yml. If you want to be explicit you can run docker compose up postgresql to bring up only that service.
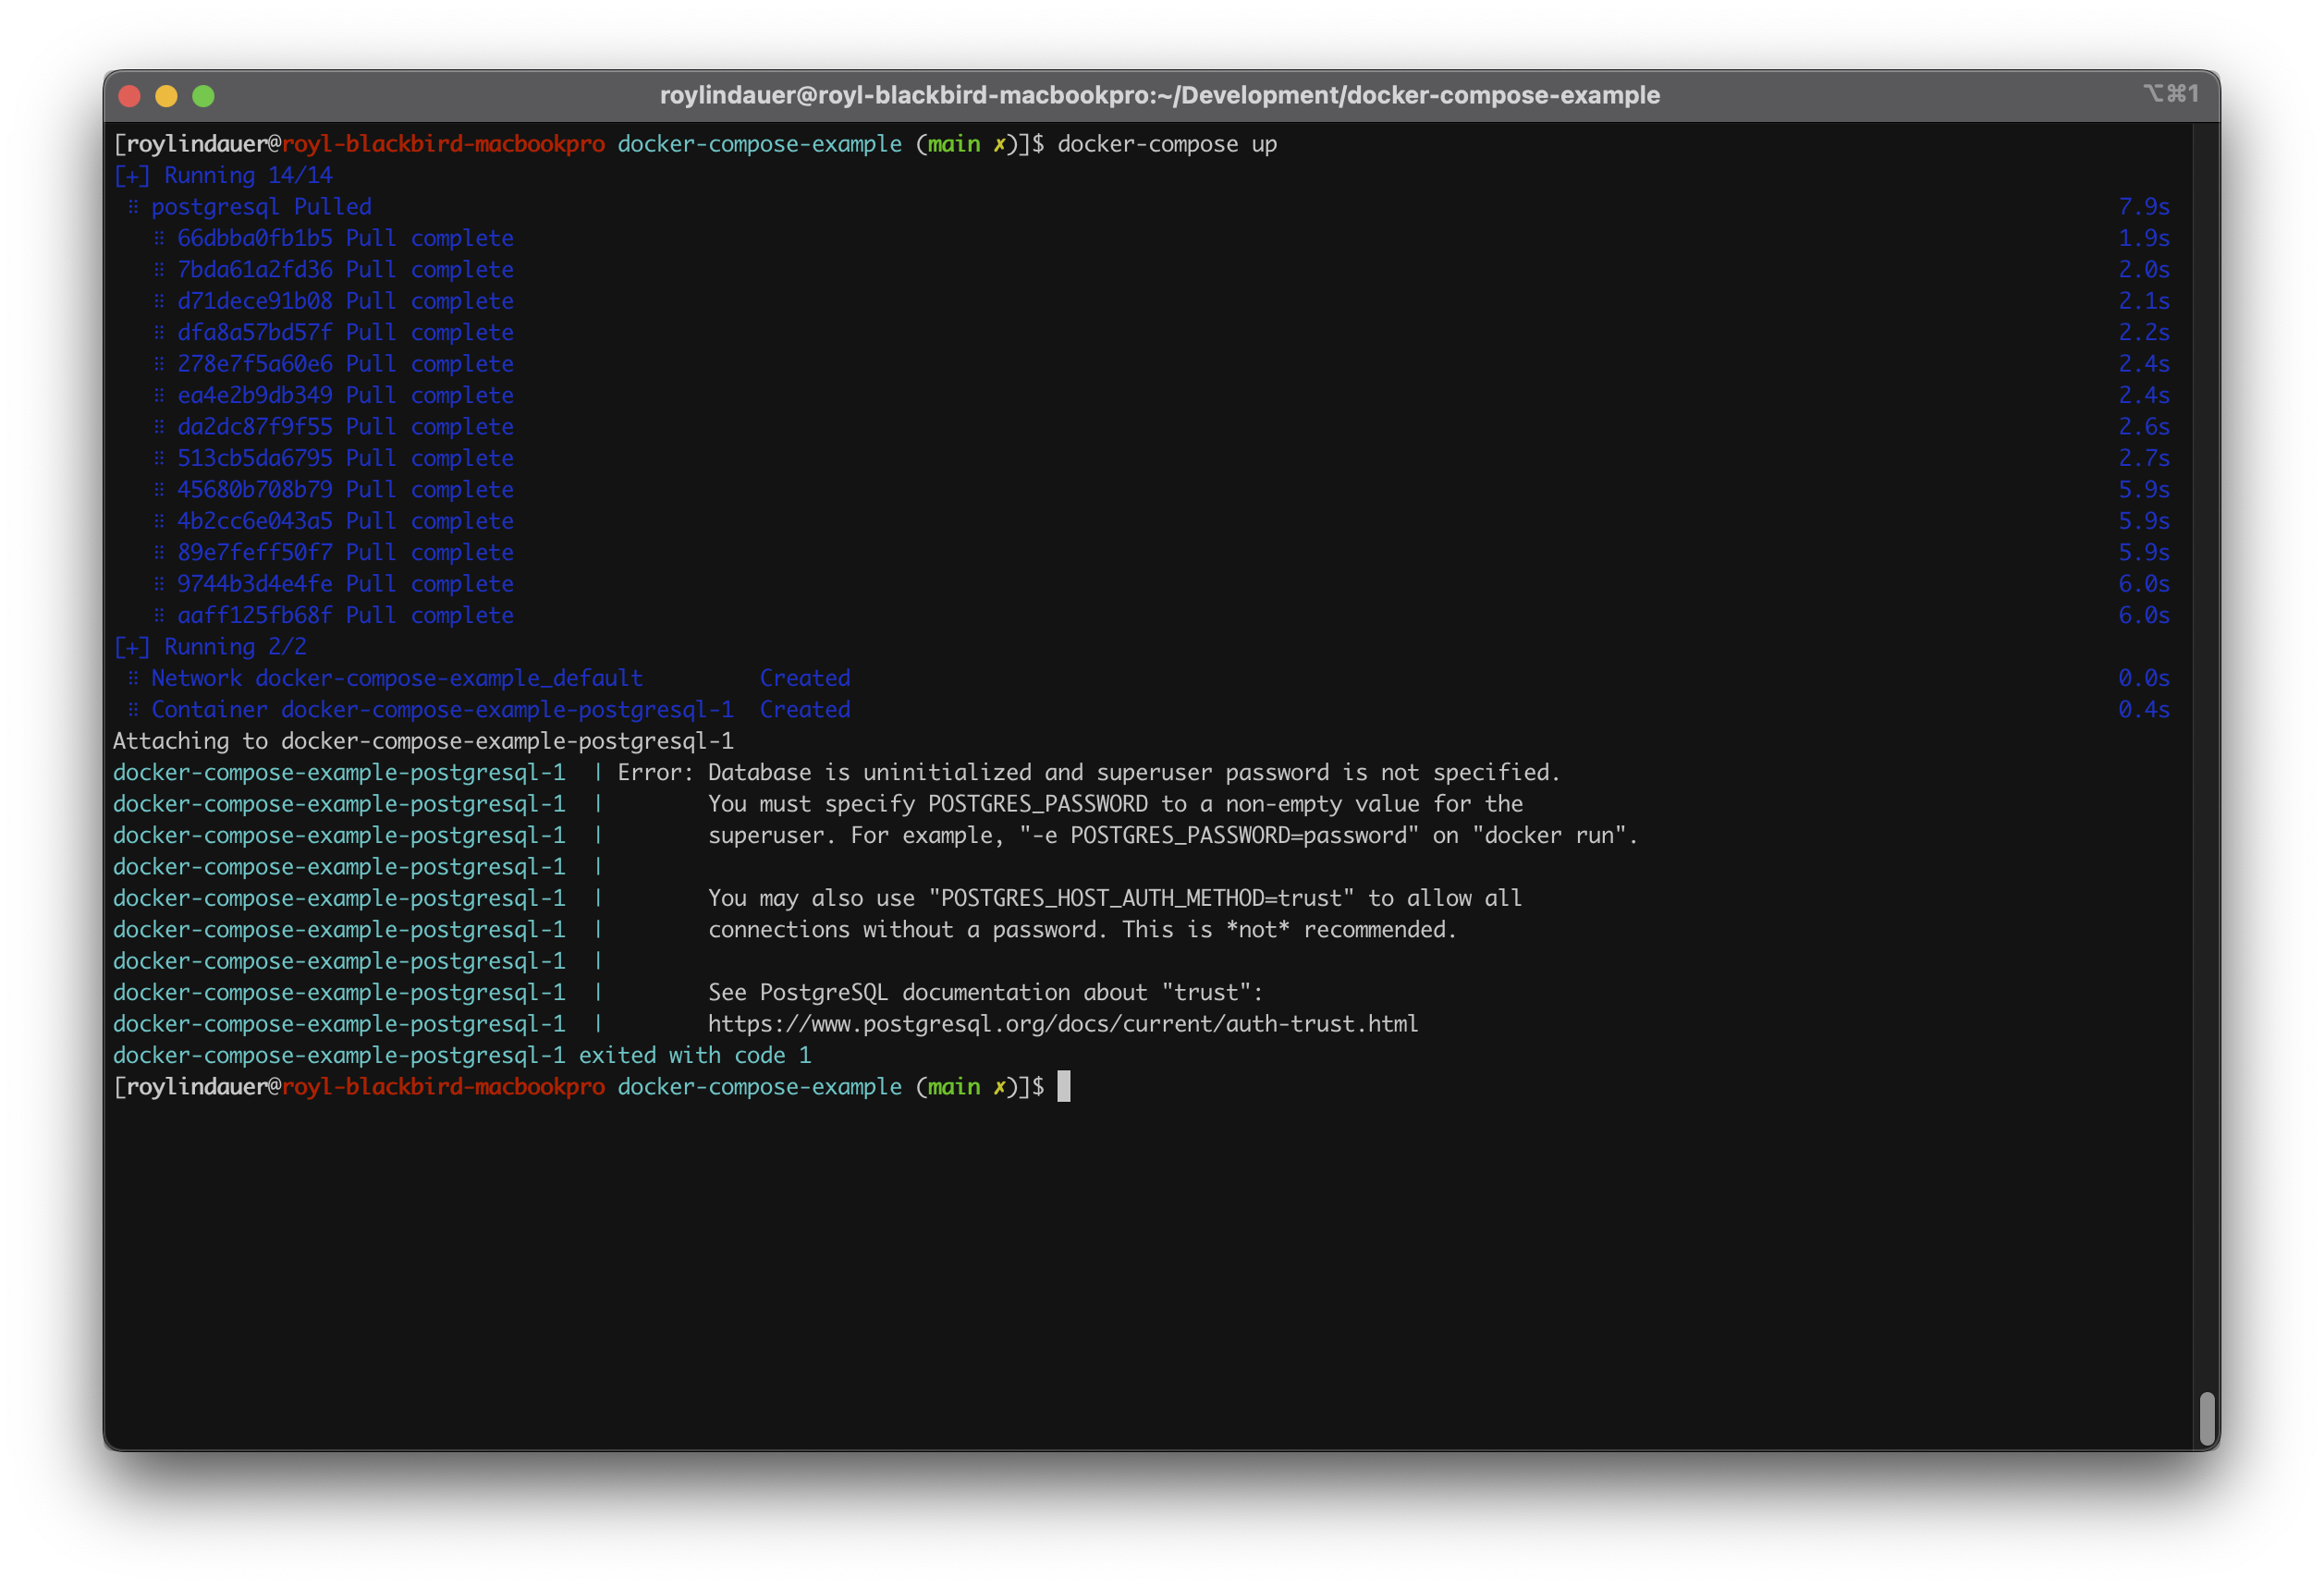
The image is downloaded but we got an error when starting the container; “Database is uninitialized and superuser password is not specified”. We are told how to resolve this, we have to pass in an environment variable to set the “POSTGRES_PASSWORD”. Environment variables can be defined when running a container with docker run by passing in the -e flag. But we are using compose so we have to instead add environment configuration to our “postgresql” service in the docker-compose.yml file.
Update docker-compose.yml and then run docker compose up again.
version: "3"
services:
  postgresql:
    image: postgres:13.10
    environment:
      - POSTGRES_PASSWORD=password
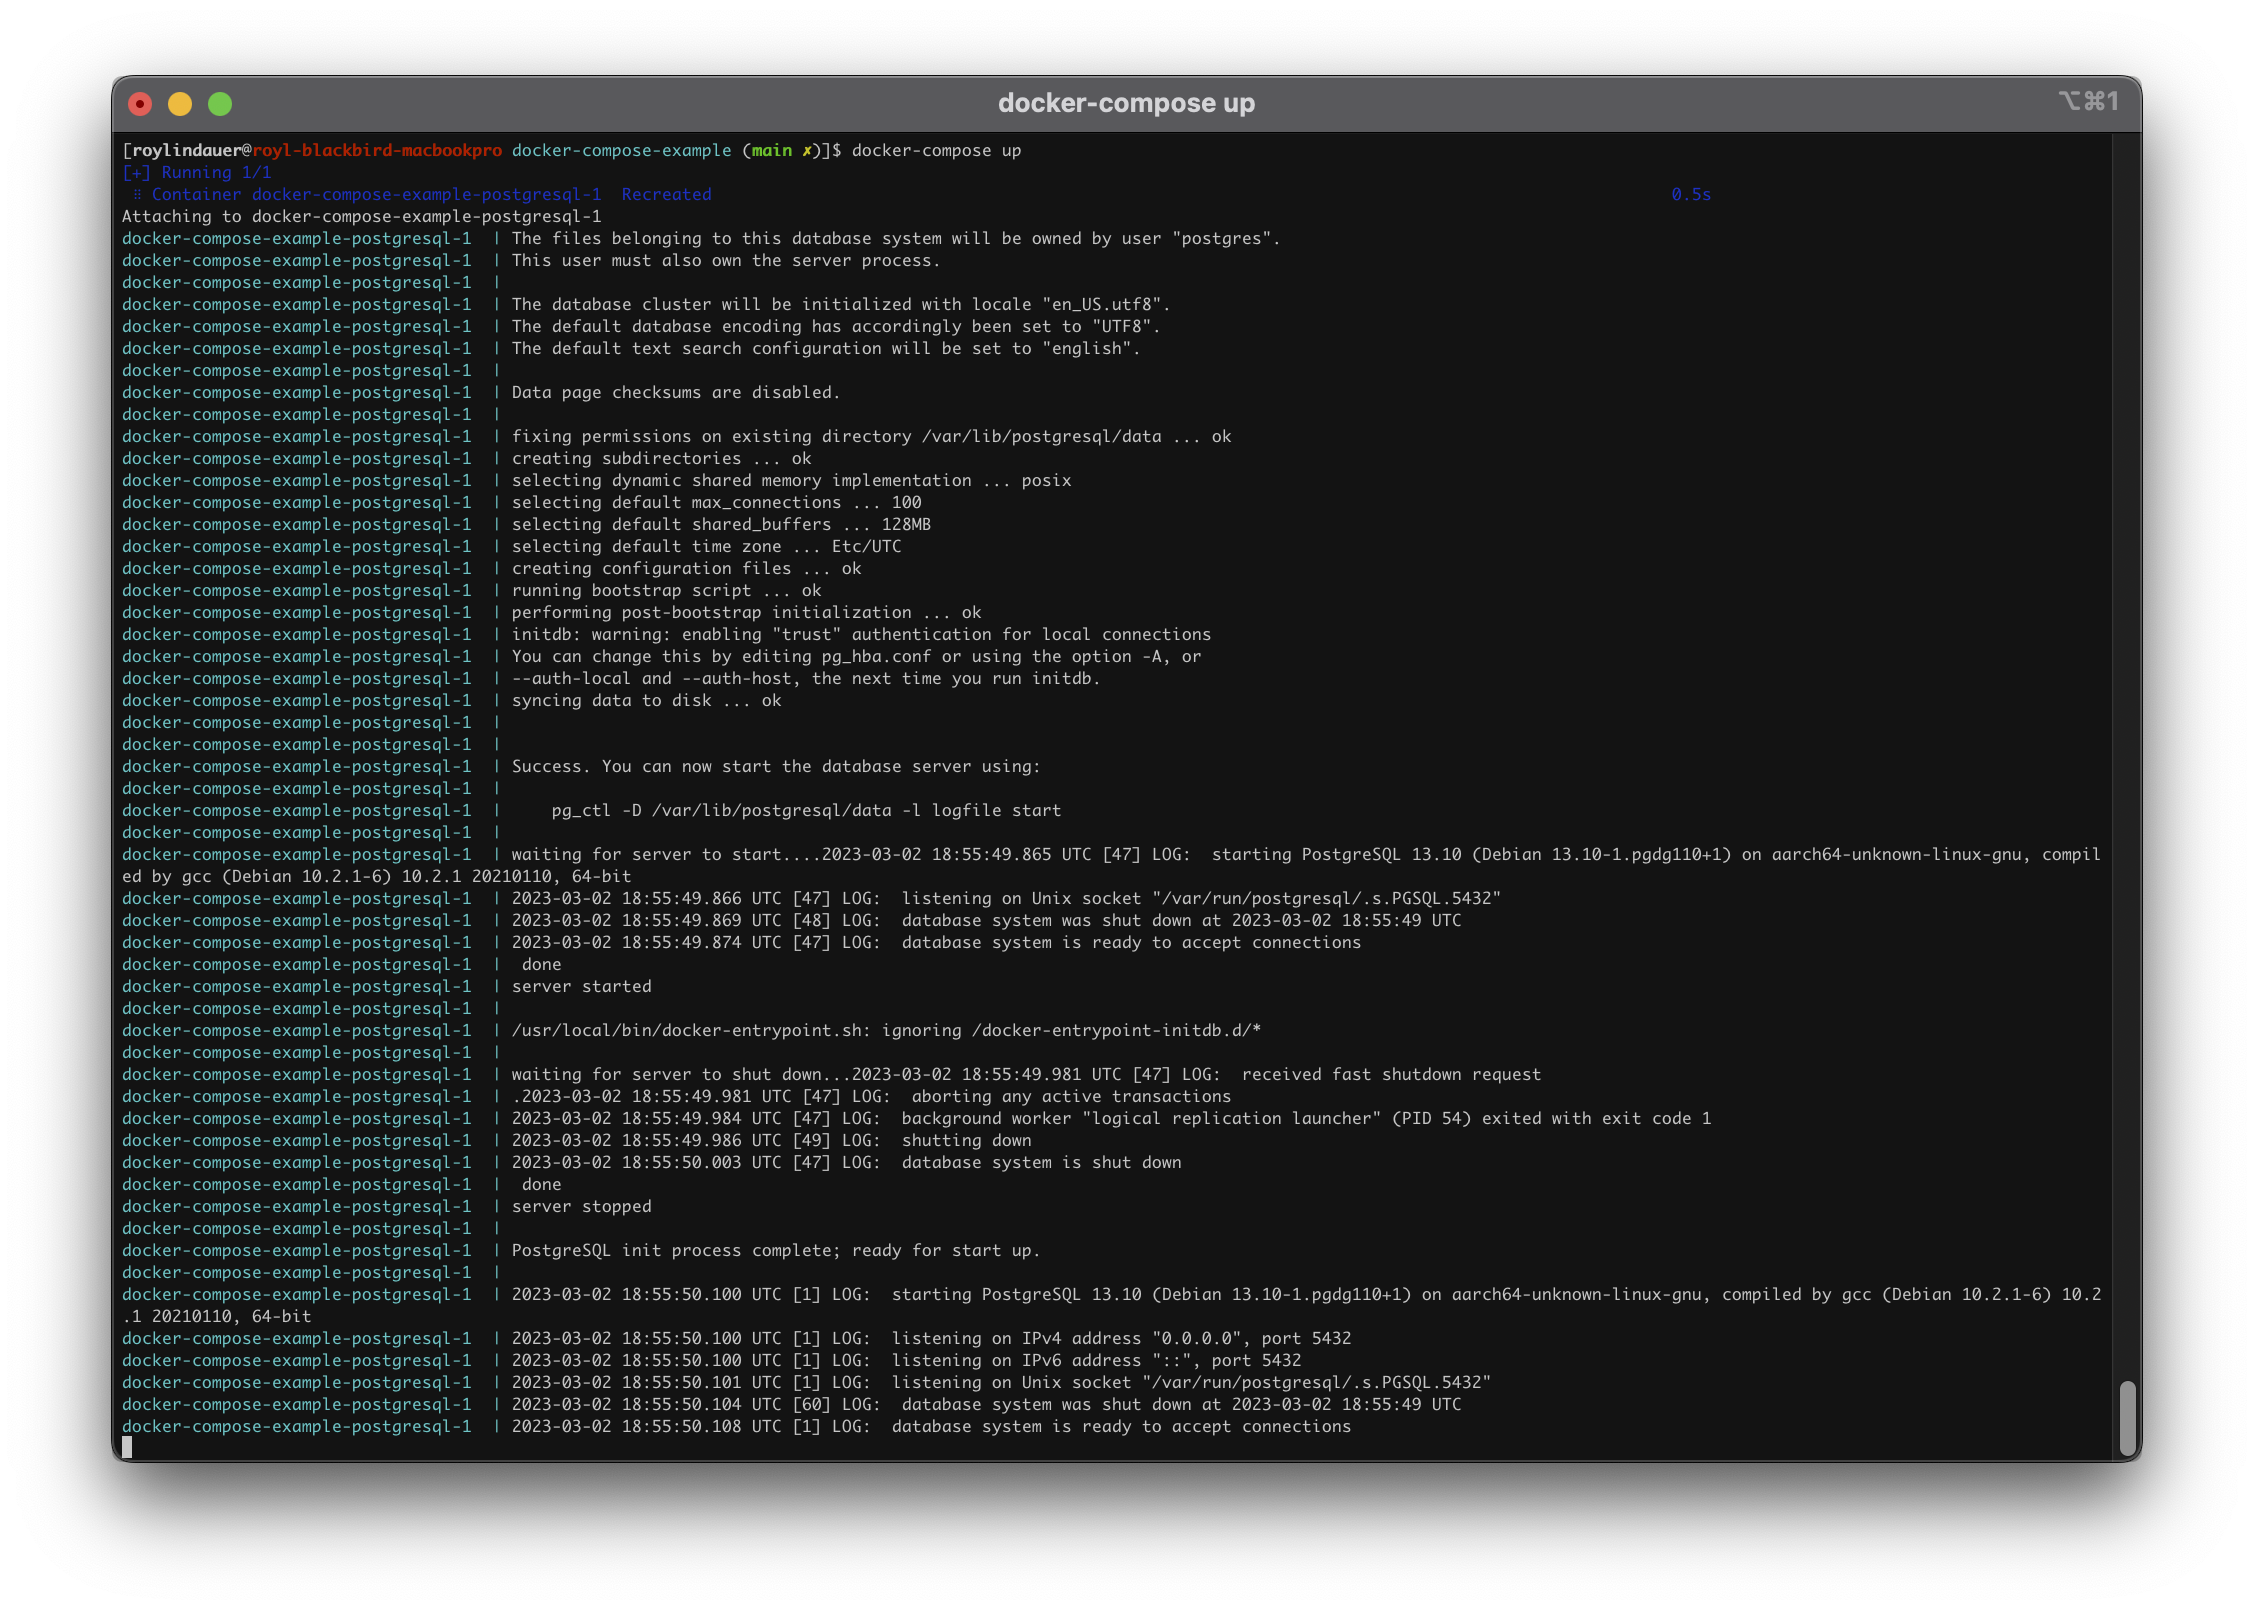
Great! The postgresql container is working!
But how can we connect to it? In order for us to be able to connect to the service we need to expose ports on the container to the host. We do that by adding a ports configuration to our service definition. The default port for PostgreSQL is 5432. Stop Docker Compose by pressing ctrl+c. Update docker-compose.yml:
version: "3"
services:
  postgresql:
    image: postgres:13.10
    environment:
      - POSTGRES_PASSWORD=password
    ports:
      - 5432:5432
What this is saying is to map port 5432 on the host (your workstation) to port 5432 on the container (“postgresql”). This means that requests to localhost:5432 or 127.0.0.1:5432 will be routed to the port 5432 on the container. Let’s update our Rails app to use PostgreSQL and connect to the database.
We will update the Rails app by installing the pg Ruby gem and changing the database configuration to use postgresql as the database driver. In order to install the pg gem you will need to have installed PostgreSQL headers and -dev packages. On MacOS with brew, you would run:
brew install postgresql
Once that is installed you can now update Rails.
bundle remove sqlite3
bundle add pg
Next, you need to edit config/database.yml:
default: &default
  adapter: postgresql
  encoding: unicode
  pool: 5

development:
  <<: *default
  url: "postgresql://postgres:[email protected]/docker_compose_example"

test:
  <<: *default
  url: "postgresql://postgres:[email protected]/docker_compose_example_test"

production:
  <<: *default
Startup Docker Compose again, initialize the database, then start the rails server.
docker-compose up -d
bundle exec rails db:setup
bundle exec rails s
The -d flag tells Docker Compose to run in the background. If all went well you will see the familiar Rails logo welcome screen at http://localhost:3000. We are now connecting to the PostgreSQL database running in Docker! As Docker Compose was detached and is running in the background you can stop it with the command:
docker compose stop
Other important commands are:
docker compose up- Creates or recreates your containers and starts them updocker compose start- Simply starts the containers that already exist.docker compose stop- Stop the containersdocker compose down- Stops and removes containers
Go ahead and run down now to stop and remove the PostgreSQL container.
docker compose down
Then bring it all back up again.
docker compose up -d
bundle exec rails s
Hmm, something has gone wrong. The database is gone.

When we ran docker compose down it destroyed the PostgreSQL container and all of the data inside of it. That may not be desired, especially when it comes to databases, so we will want to introduce some persistent storage to our configuration. Do this by defining a volume and attaching it to the container. Update docker-compose.yml:
version: "3"
services:
  postgresql:
    image: postgres:13.10
    environment:
      - POSTGRES_PASSWORD=password
    ports:
      - 5432:5432
    volumes:
      - "dbdata:/var/lib/postgresql/data"

volumes:
  dbdata:
We add a new section, “volumes”, that defines the various volumes we wish to attach to containers. In the services section, a new configuration is added that mounts our volume to a path in the container. In this case, mounting “dbdata” to the location where PostgreSQL stores its data. Now we can bring down our containers without losing data.
Reset the project by running the command docker compose down to remove any containers then run the following to bring up the PostgreSQL service, create our database, and start rails.
docker-compose up -d
bundle exec rails db:setup
bundle exec rails s
Check that Rails loads by visiting http://localhost:3000.
Stop rails and run docker compose down again. This removes the PostgreSQL container, but because we have a volume with our data, when we create a new container with docker compose up our database will still be there. Give it a shot!
docker-compose up -d
bundle exec rails s
Check again that Rails loads by visiting http://localhost:3000. Our database persisted!
Additional Supporting Services
We can add more services to support our application. When you see Ruby on Rails projects, you might also find Sidekiq to process background jobs, with Redis as the database for those jobs (also for caching). Add “sidekiq” to Rails by running the command:
bundle add sidekiq
Create the file config/initializers/sidekiq.rb with:
Sidekiq.configure_server do |config|
  config.redis = { url: 'redis://localhost:6379/0' }
end

Sidekiq.configure_client do |config|
  config.redis = { url: 'redis://localhost:6379/0' }
end
Edit the file config/routes.rb:
require 'sidekiq/web'

Rails.application.routes.draw do
  # Define your application routes per the DSL in https://guides.rubyonrails.org/routing.html

  # Defines the root path route ("/")
  # root "articles#index"
  mount Sidekiq::Web => '/sidekiq'
end
Then add Redis to docker-compose.yml
version: "3"
services:
  postgresql:
    image: postgres:13.10
    environment:
      - POSTGRES_PASSWORD=password
    ports:
      - 5432:5432
    volumes:
      - "dbdata:/var/lib/postgresql/data"

  redis:
    image: redis:alpine
    ports:
      - 6379:6379

volumes:
  dbdata:
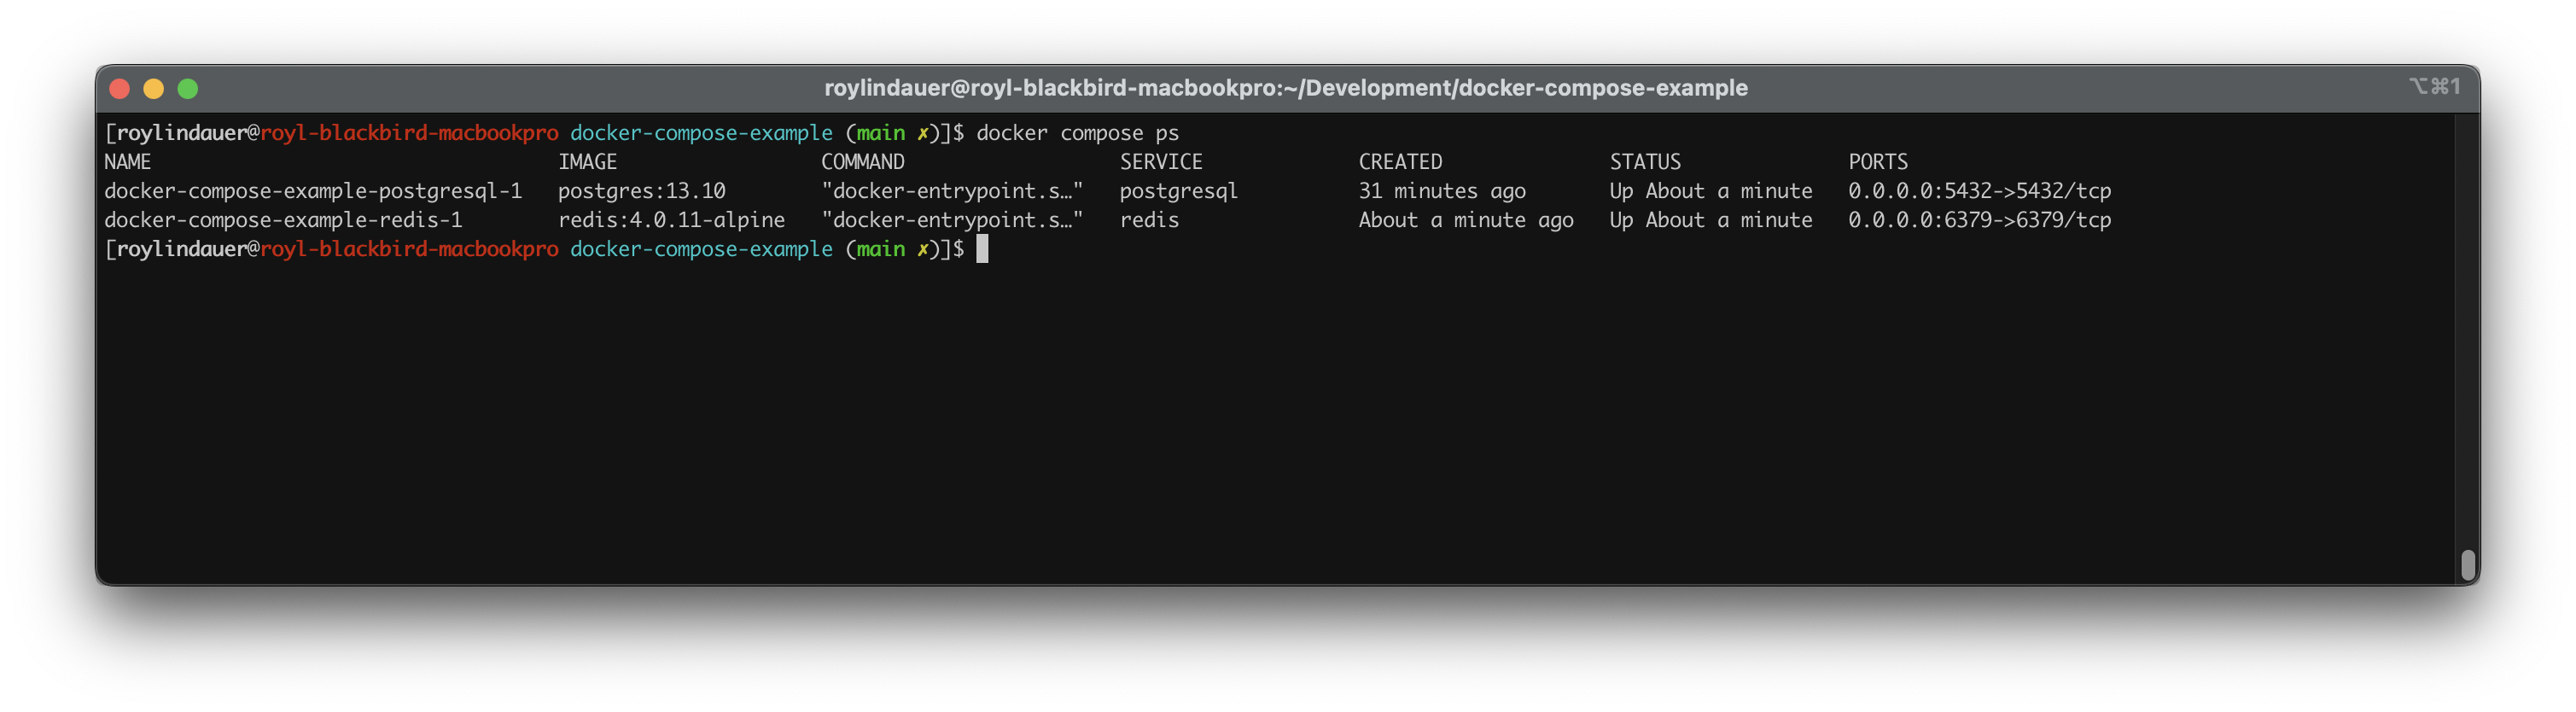
If Docker Compose is running, stop it with docker compose stop. Now bring up both PostgreSQL and Redis with docker compose up postgresql redis -d. To see that your containers are running you can run the command docker compose ps
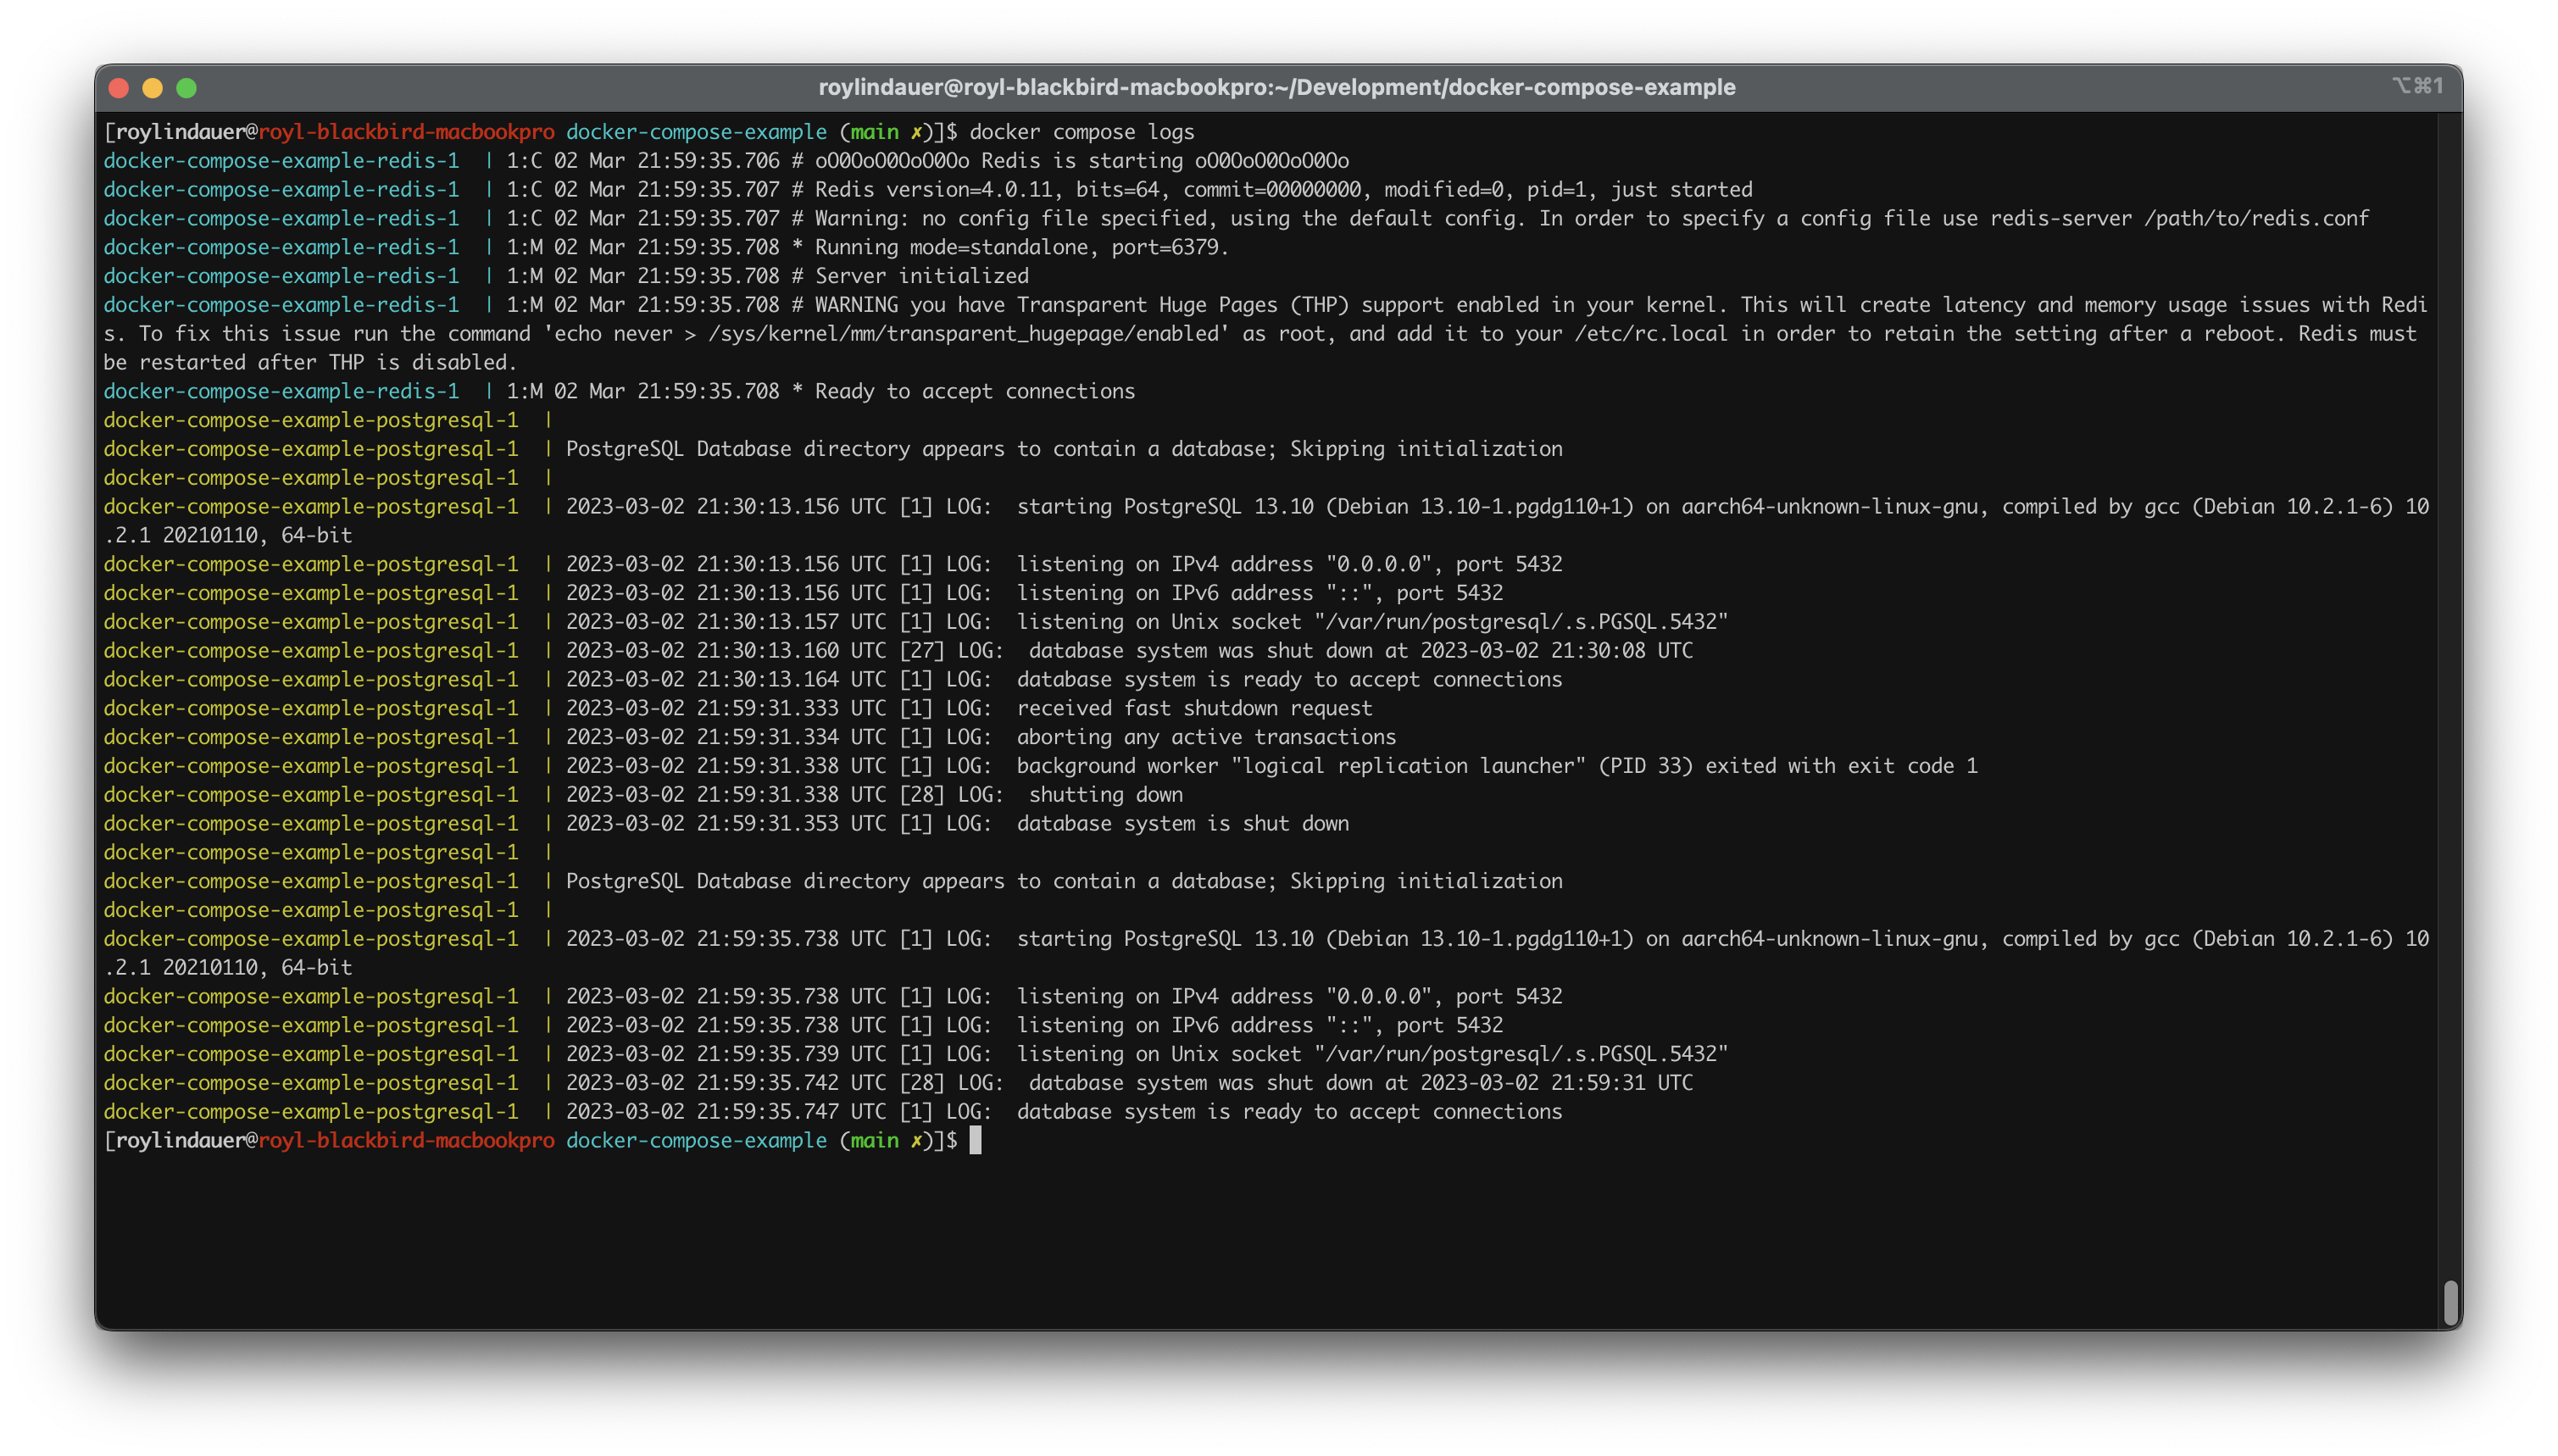
You can also see the logs from your containers by running the command docker compose logs
Now start up Sidekiq and confirm that you are connected to Redis.
bundle exec sidekiq
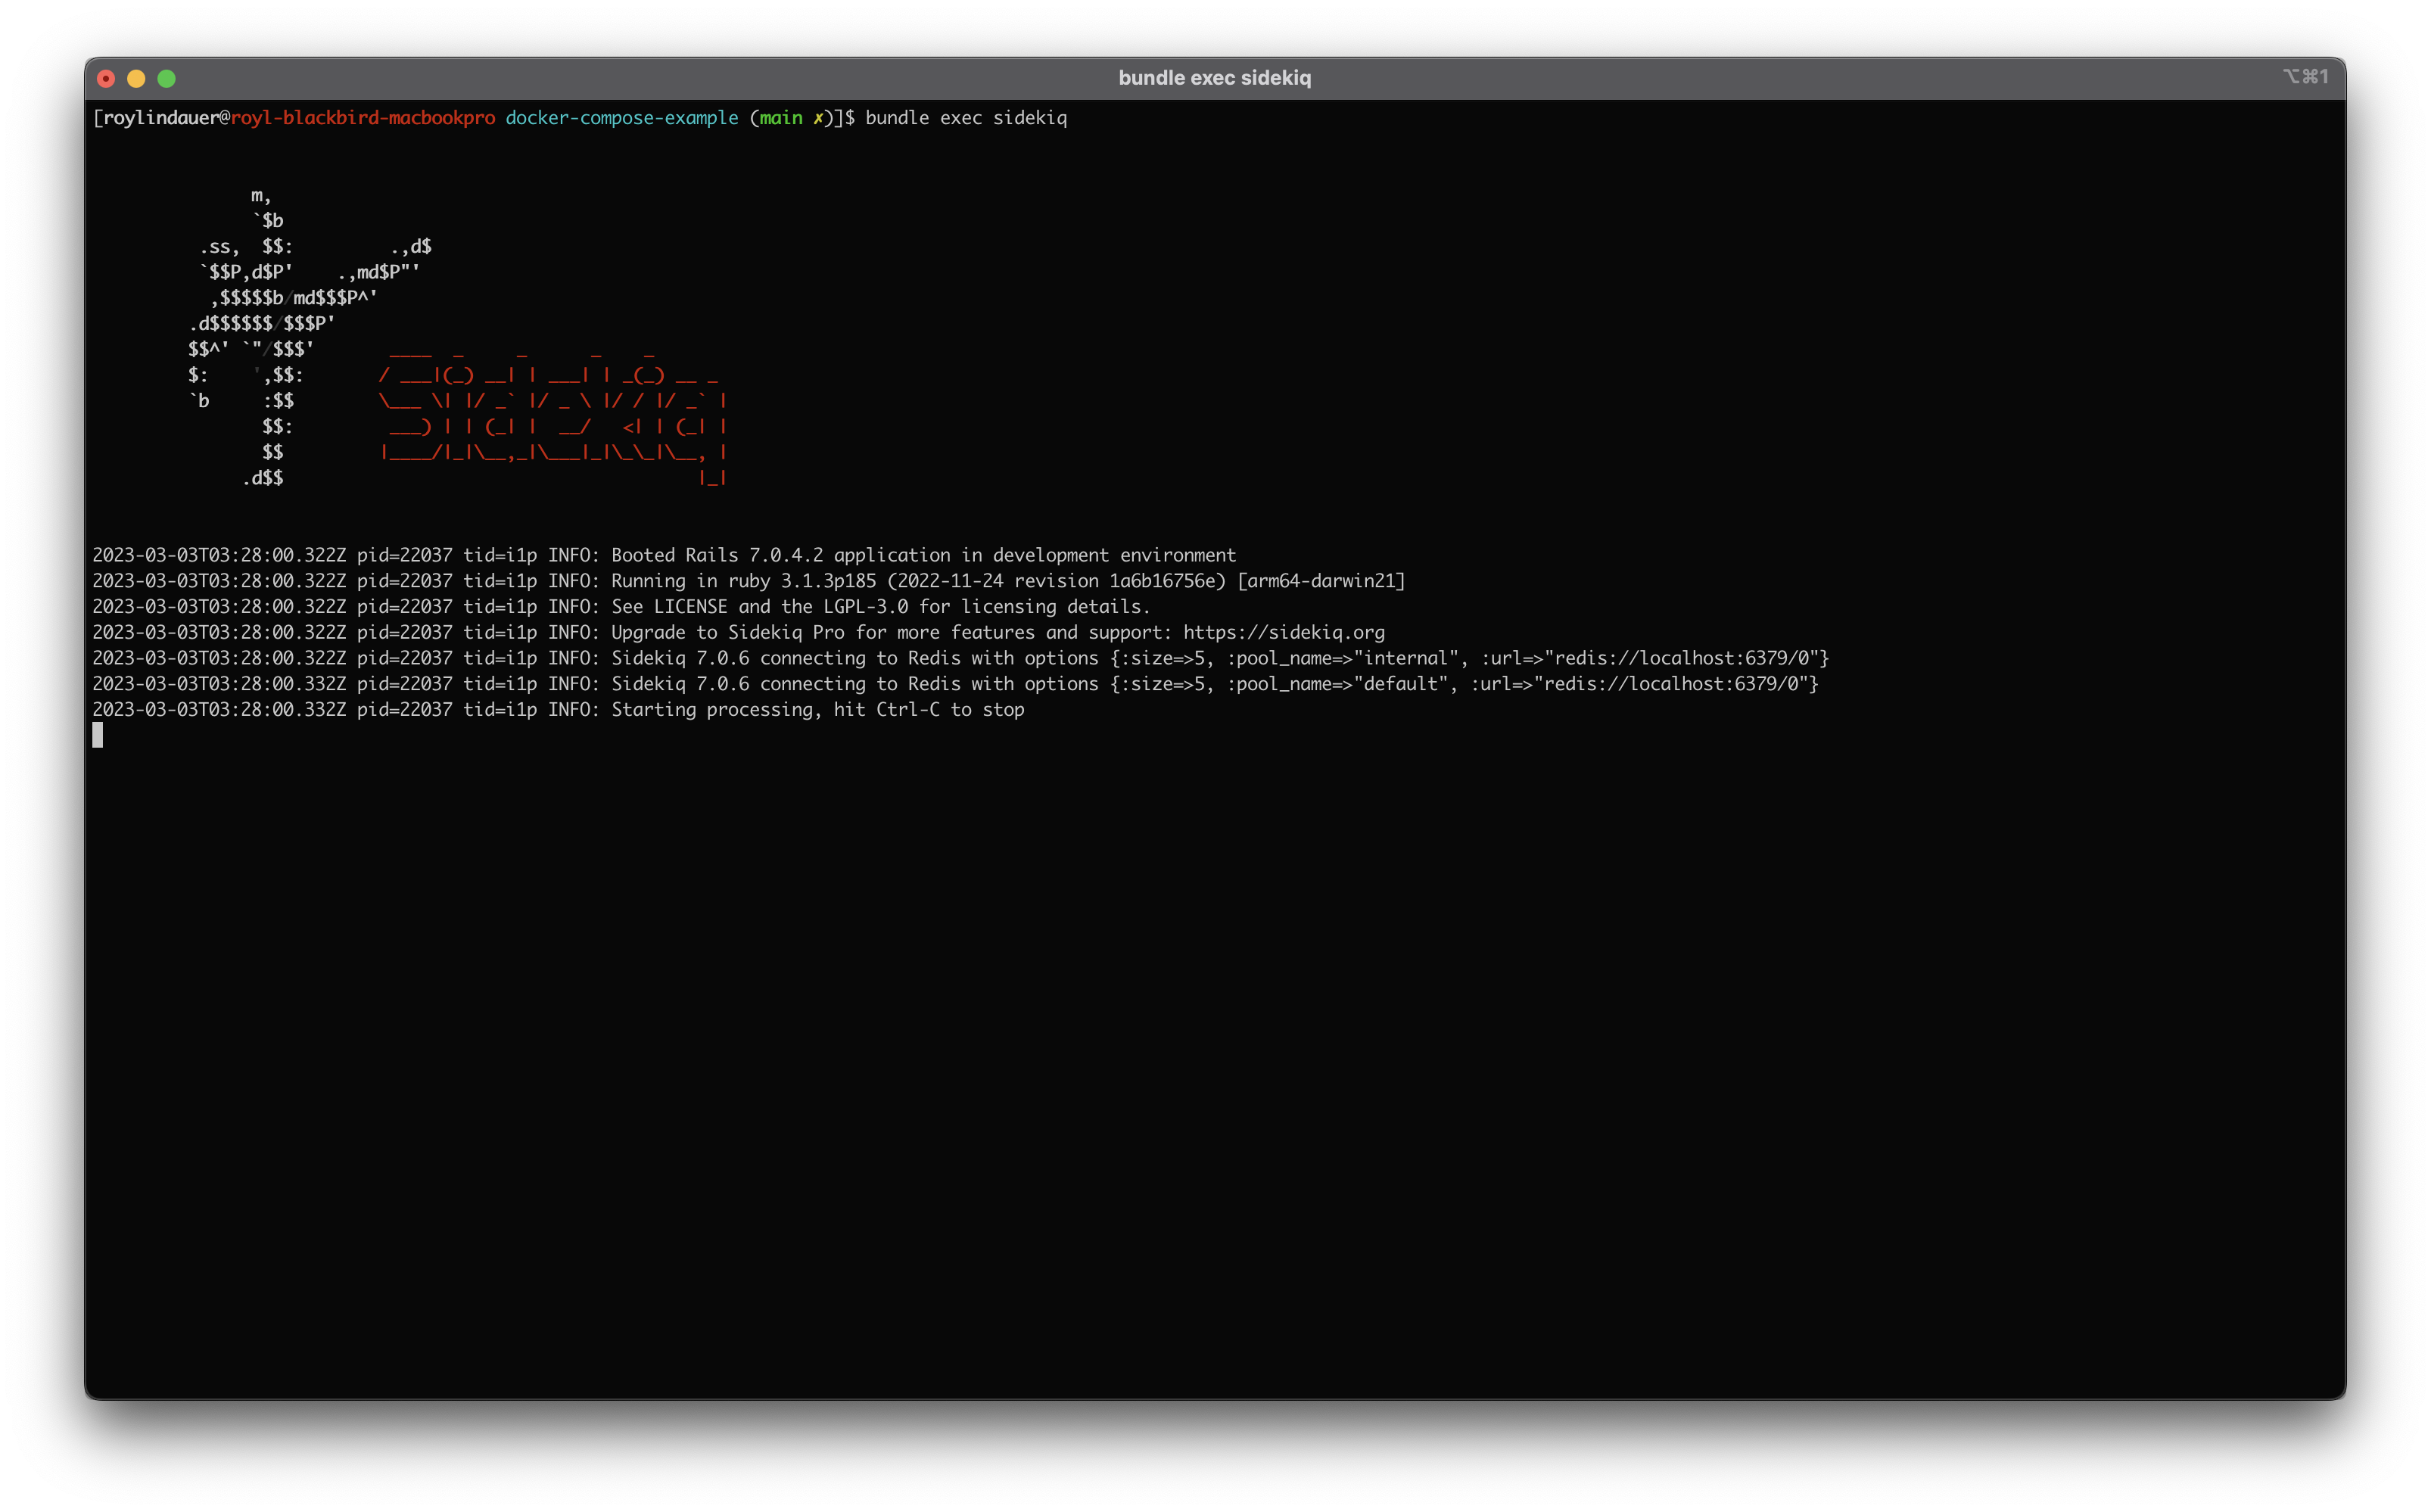
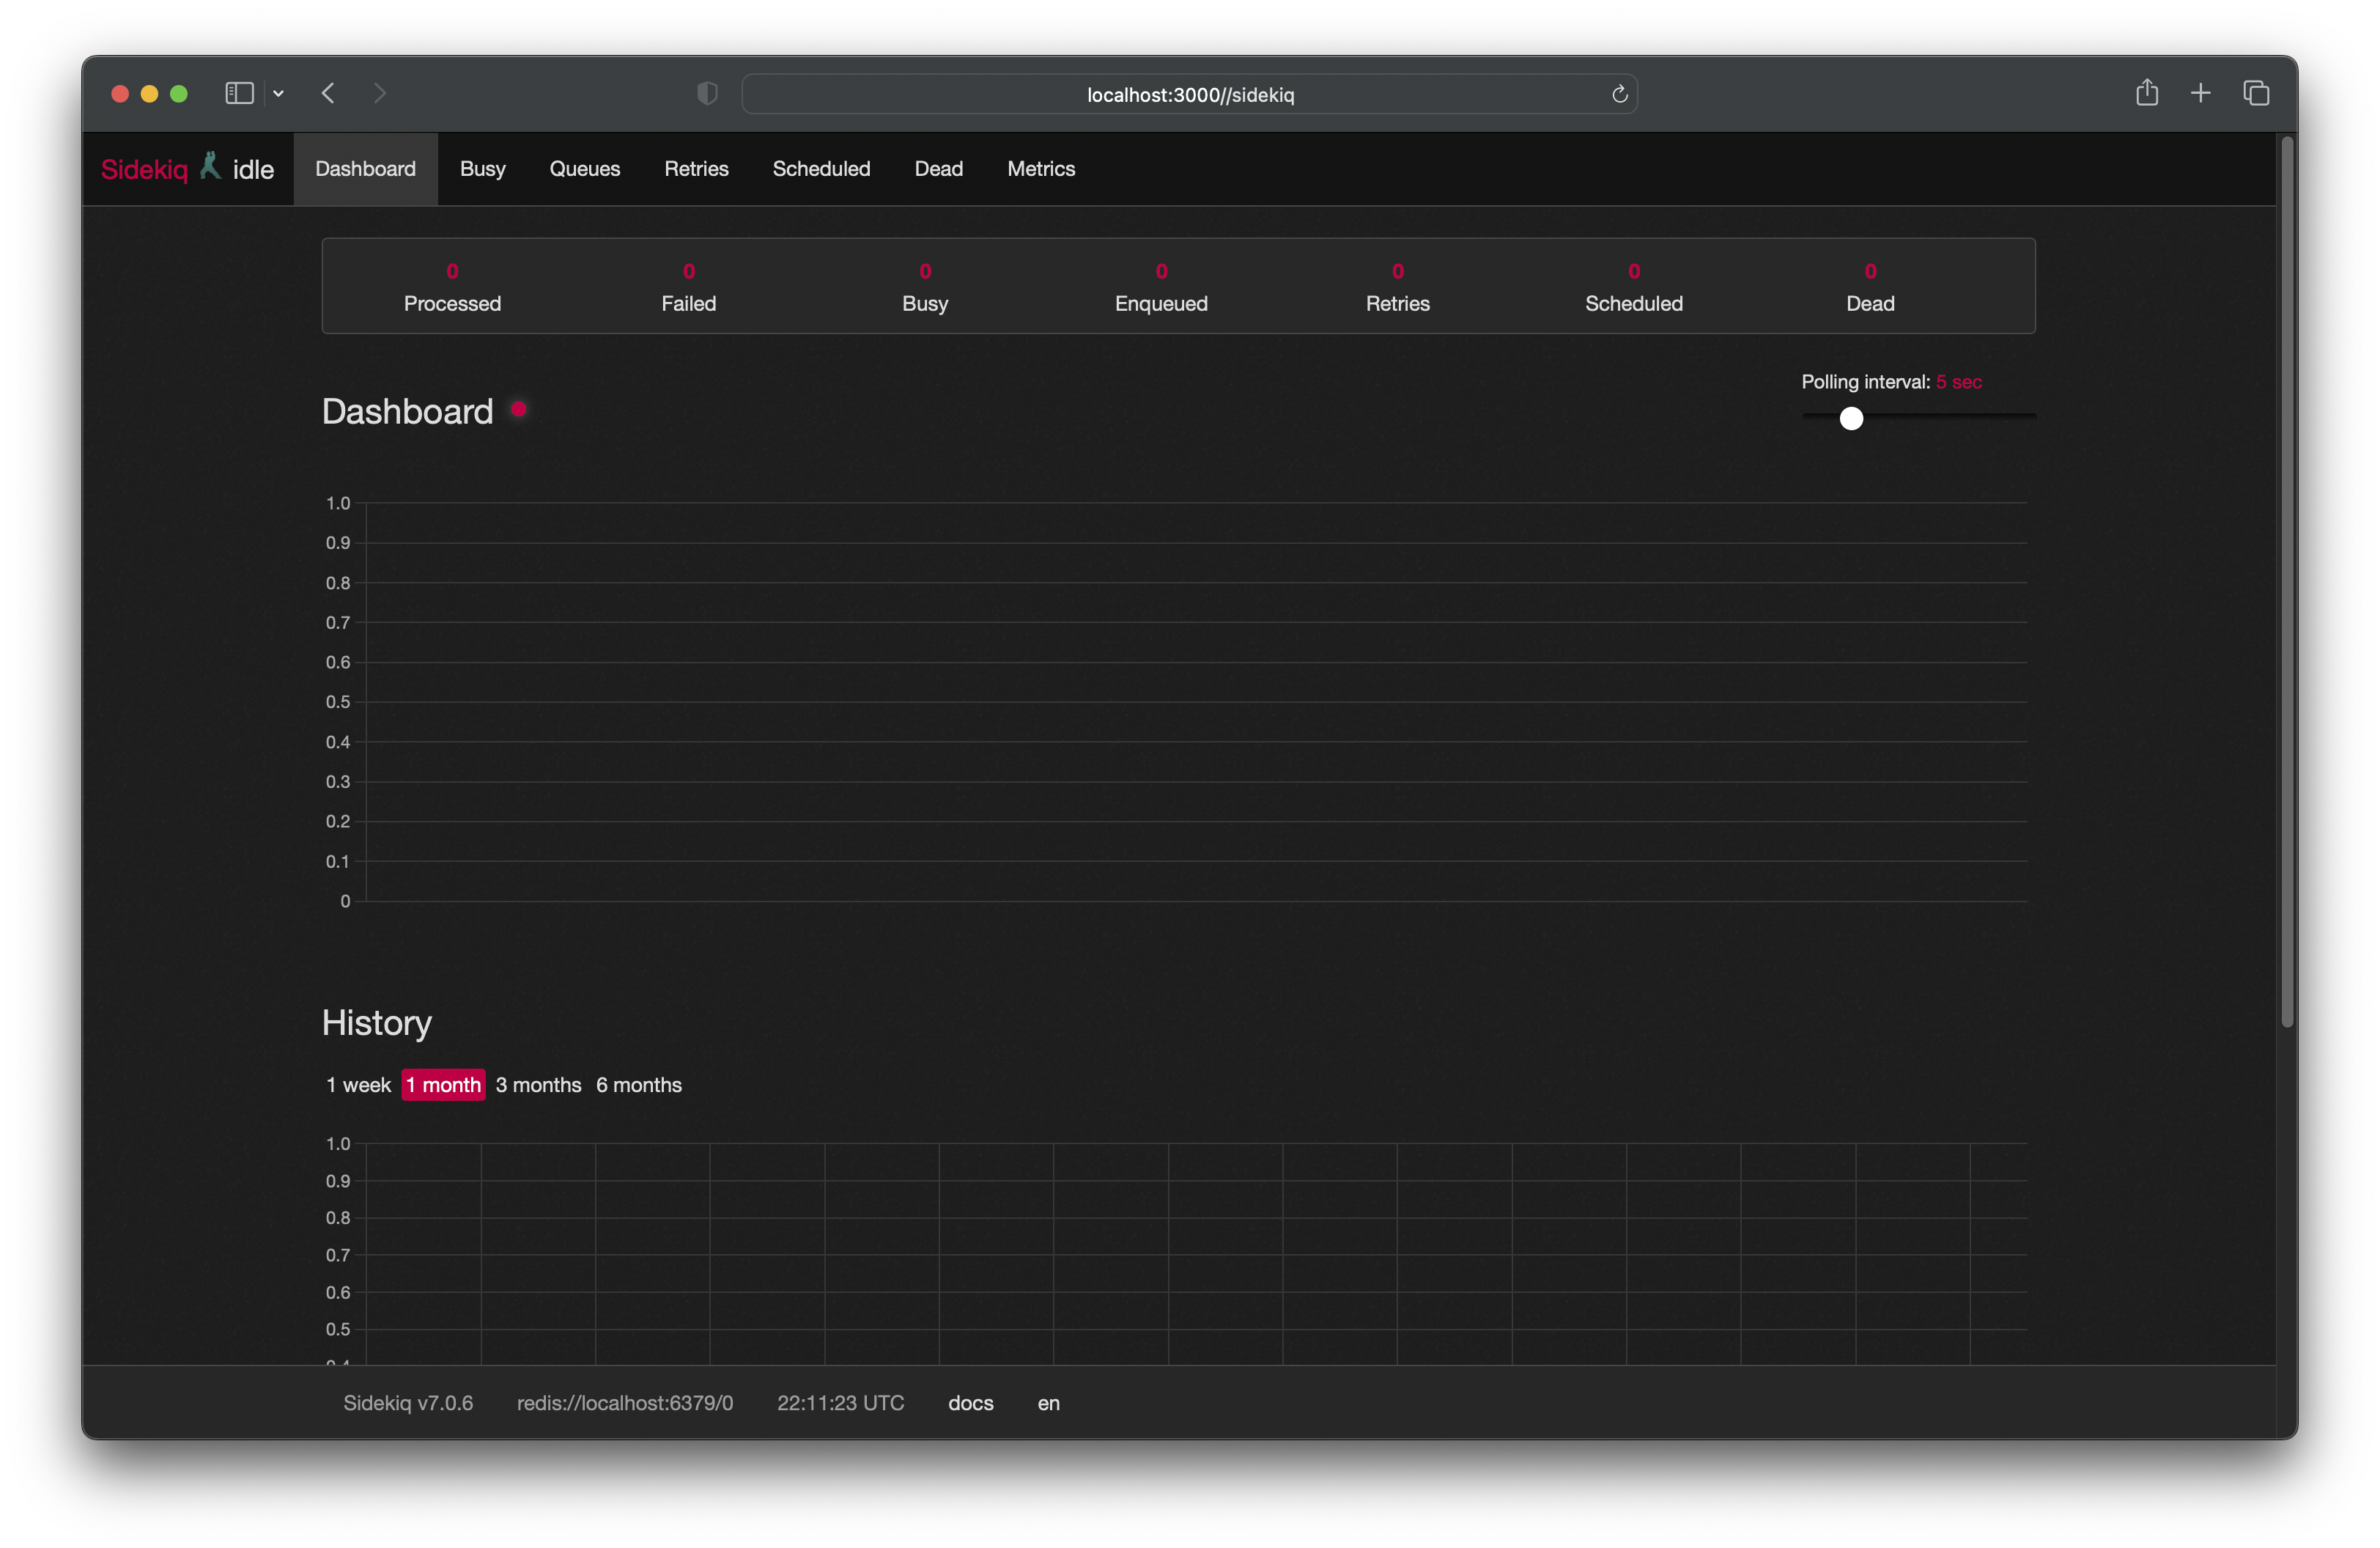
You should see that Sidekiq is connected to Redis. If you start rails from another terminal you can also confirm by going to http://localhost:3000/sidekiq.
Things are shaping up! A common thing you may have to do when developing an application is test emails. You may not want to actually send emails when you are in development but still want to ensure they are formatted correctly, are triggered when they should be, and so on. A service you could add is called “Mailcatcher”. It’s a mail server with a web UI to view the email it has received.
Add mailcatcher to the services section of the docker-compose.yml file.
  mailcatcher:
    image: dockage/mailcatcher:0.8.2
    ports:
      - 1080:1080
      - 1025:1025
We expose the ports 1080, which is the web UI, and 1025, which is the port you need to use in your mail config. You can start the service by running the command docker compose up -d and it will create and start any services that are not already running.

You can effectively now run any service that you need to support your development efforts with Docker Compose. Maybe you want to add an imageproxy service to handle image translations. Or a URL shortening service. You could also run an Nginx container to test your Nginx proxy configurations. Really you can add anything and you don’t have to do much more than add the service to docker-compose.yml.
There are many images available in the Docker hub. These are public and free to use.
Developing our Application in Docker
It is also possible to run and develop your application with Docker Compose. Recall that we added a volume to our postgresql service. We mounted a defined docker volume to a path in the container. We can also mount a local path into the container. This means you can create a container for the Rails app that has the specific version of Ruby installed that the app requires and whatever other libraries and gems and such, and then mount your local Rails application into that container. Changes you make locally appear in the container.
There are some caveats.
Docker compose runs services within a virtual network. So far we have been connecting to services over the local network because our application is running locally. Once we run it as its own container we can no longer connect to Redis over localhost, because localhost now refers to the container. Docker Compose will allow us to reference our containers, within the compose network, by their service name. So while locally we can connect to redis at redis://localhost:6379/0 when we run our app in docker we would instead connect at redis://redis:6379/0. Because we named the redis service “redis” that is the hostname we would use.
Mounting local volumes into a container can sometimes be slow. Depending on the type of application, your operating system, and how many files are in the project, it may not even be worth doing. Docker containers are running Linux kernels. If you are running Docker on a Mac then you may experience some performance issues with sharing files over the virtual network. YMMV. If you are running a Linux desktop then you won’t need to worry it’s going to run fine and be performant. The filesystem and network layer between the MacOS kernel, the thin Docker Desktop VM, and the Docker container slows things down. It’s something I think you should be aware of as you explore this path.
This does pose another kinda interesting problem. You have a choice to make; all in on docker, or supporting services only in docker. I like having more options though, and I don’t like to force other engineers to change their workflow to suit my own, so I configure my projects to be able to do both; run on bare-metal locally, and run in docker on the Docker Compose network. Doing so requires a little bit of application configuration to be able to determine which environment you are running so that the proper service routes are defined.
For demo purposes though let’s go ahead and add our Rails app as a service to docker-compose.yml
  rails:
    build:
      context: ./
      dockerfile: development.Dockerfile
    ports:
      - 3000:3000
    depends_on:
      - postgresql
      - redis
    volumes:
      - ./:/app
This is a little different than the other services. There’s no image attribute, and we have added build and depends_on.
depends_on simply says, this container requires these other containers. When you start the rails service, those other containers will automatically be started.
We removed the image attribute because we are going to build our own image. The build section tells Docker Compose how to build the image. It will look for a file called development.Dockerfile in the current directory. Create that file now:
FROM ruby:3.1.3

ARG RAILS_ENV=production

RUN apt-get update -qq && \
    DEBIAN_FRONTEND=noninteractive apt-get install -y --no-install-recommends  libvips libvips-dev libvips-tools libpq-dev && \
    rm -rf /var/lib/apt/lists/* /var/cache/apt

ARG BUNDLER_VERSION=2.3.26
RUN gem install "bundler:${BUNDLER_VERSION}" --no-document && \
    gem update --system && \
    gem cleanup

WORKDIR /app

COPY Gemfile Gemfile.lock ./
RUN bundle install --jobs "$(nproc)"

COPY . .

CMD ["bin/rails", "s", "-b", "0.0.0.0"]

EXPOSE 3000
To build your image:
docker compose build rails
Start the rails container with:
docker compose up rails
We expose port 3000 and can load the app at http://localhost:3000. You may notice a small problem, we cannot connect to the database.

We have not updated the Rails configuration. As the app is now running in a container those data services are not available at “localhost”. We need to use the Docker Compose service routes.
Update config/database.yml:
default: &default
  adapter: postgresql
  encoding: unicode
  pool: 5

development:
  <<: *default
  url: "postgresql://postgres:password@postgresql/docker_compose_example"

test:
  <<: *default
  url: "postgresql://postgres:password@postgresql/docker_compose_example_test"

production:
  <<: *default
Also want to update config/initializers/sidekiq.rb:
Sidekiq.configure_server do |config|
  config.redis = { url: 'redis://redis:6379/0' }
end

Sidekiq.configure_client do |config|
  config.redis = { url: 'redis://redis:6379/0' }
end
Stop Docker Compose with ctrl+c and restart:
docker compose up rails
If you visit http://localhost:3000 you should see the now very familiar Rails welcome page. Congrats, your Rails app is running in docker and connected to your services!
Next, let’s run sidekiq with compose. We are going to use the same dockerfile to create a new sidekiq docker image that we used to create the rails image. Then we will override the startup command that Docker Compose will run when it starts the container. By default compose will execute the command defined by the Dockerfile used to create the image. But we can override that with the service configuration in docker-compose.yml. And since this is a background job processer we will remove the ports since we are not going to need them.
Add a new service to docker-compose.yml
  sidekiq:
    build:
      context: ./
      dockerfile: development.Dockerfile
    command: bundle exec sidekiq
    depends_on:
      - postgresql
      - redis
    volumes:
      - ./:/app
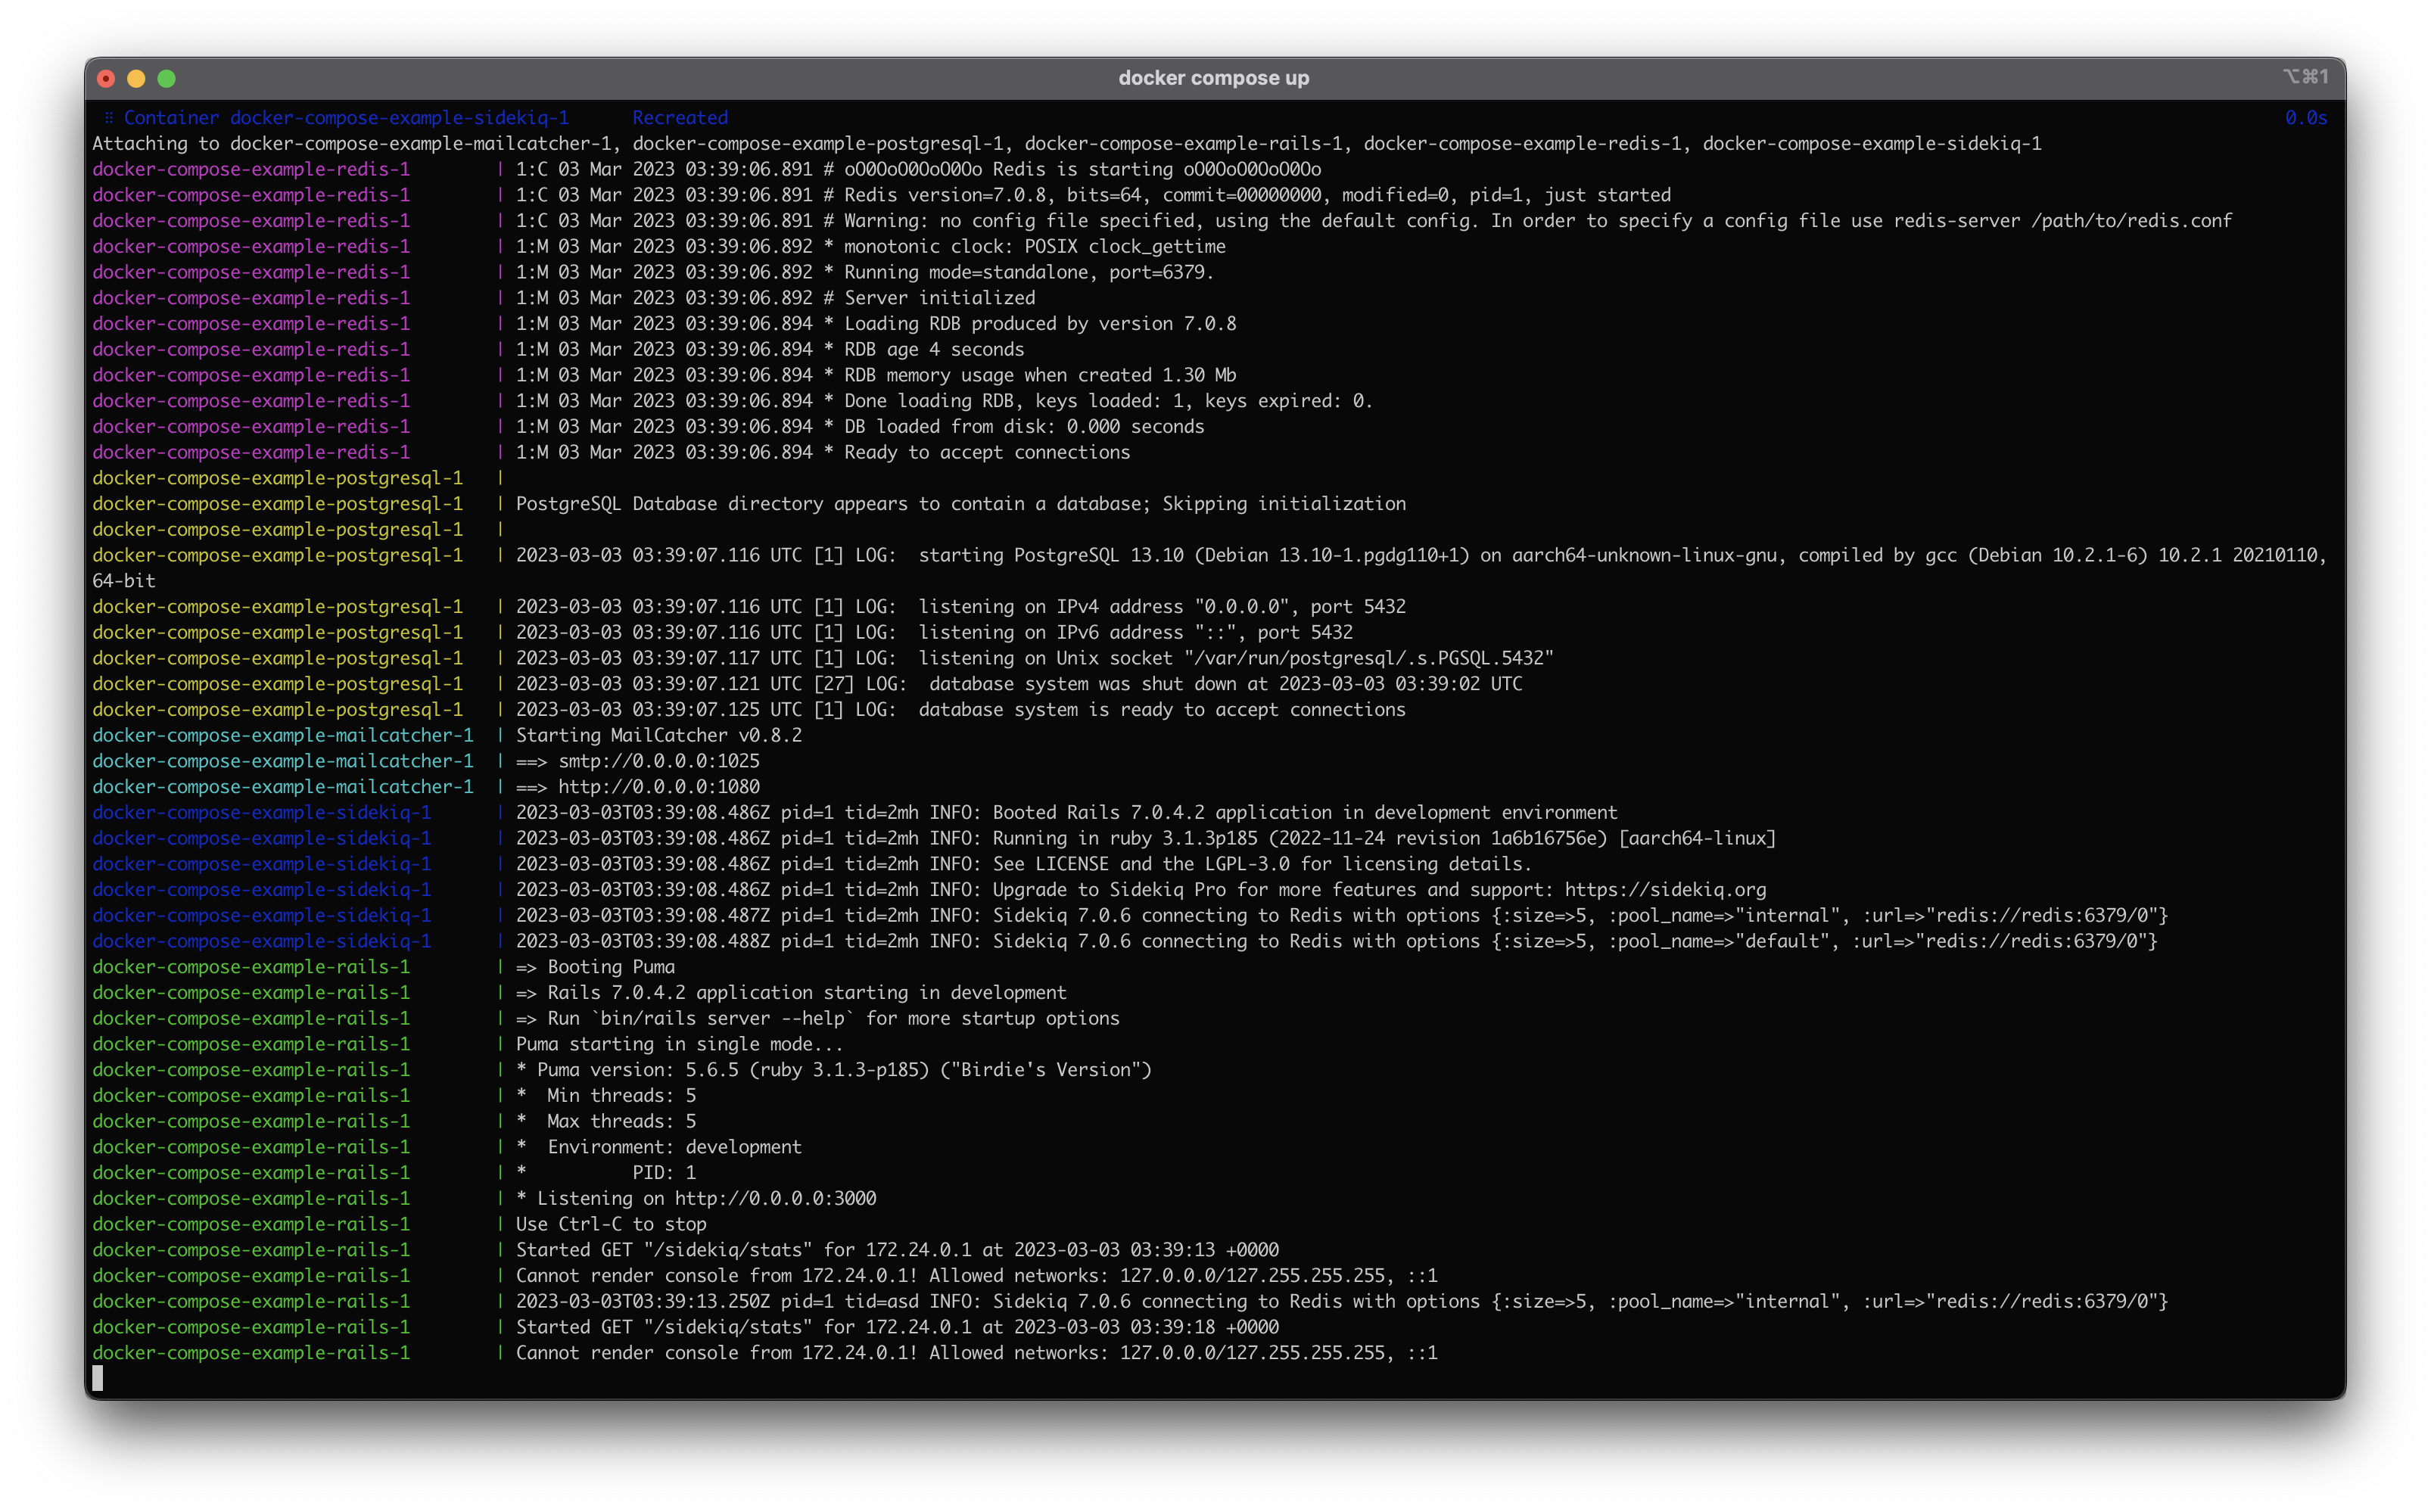
When you start up the whole stack you will have Rails and Sidekiq running, connected to your data services.
docker compose up
Utilities for Working with Docker Compose
There will be times when you need to execute commands inside a container. For example, with our Rails app, you will want to run “rails” commands to generate database migrations, run migrations, or other tasks. You can execute commands inside a container with Docker Compose.
If it’s not already running go ahead and start the Rails container in the background:
docker-compose up rails -d
Now say you want to run a rails command. For example, I will run the rails command to show me all available rails commands.
docker compose exec rails rails -T
This command says to execute the command rails -T on the rails container.
It could be tedious to have to type all that out all the time. You could create a utility under the “bin” directory called “drails” that will execute commands in the container for you.
#!/bin/sh
docker-compose run --rm rails env EDITOR=vi bin/rails $@
This small shell script would be used as you would use bin/rails, you just use bin/drails instead. This small additional means only a minor change in your existing workflow.
Wrap Up
This has been a bit heavy on Rails, but the concepts apply to any framework and project. You could be running Laravel or NodeJS, or using MongoDB or ElasticSearch, and you’d still have the same types of dependencies, and configurations, and even probably creating helper utilities to smooth out your workflow. Docker Compose is a powerful tool to add to your workflow. I hope you have found this all helpful!